If you’ve ever sat on a curriculum writing team, you know that this task isn’t for the faint of heart. There are a lot of moving parts to quality curriculum design. Everyone seems to have an opinion on what to include and what to leave out. So how do you write a curriculum that makes sense for your students and subject? And how can you use that to help integrate the arts across content areas?
Our team at IAS actually went through this exact process in designing our IntegratED Curriculum. Our team worked on 109 lessons, resources and assessments for our K-5 version alone. And our curriculum writers for MS and HS also went through these exact same steps.
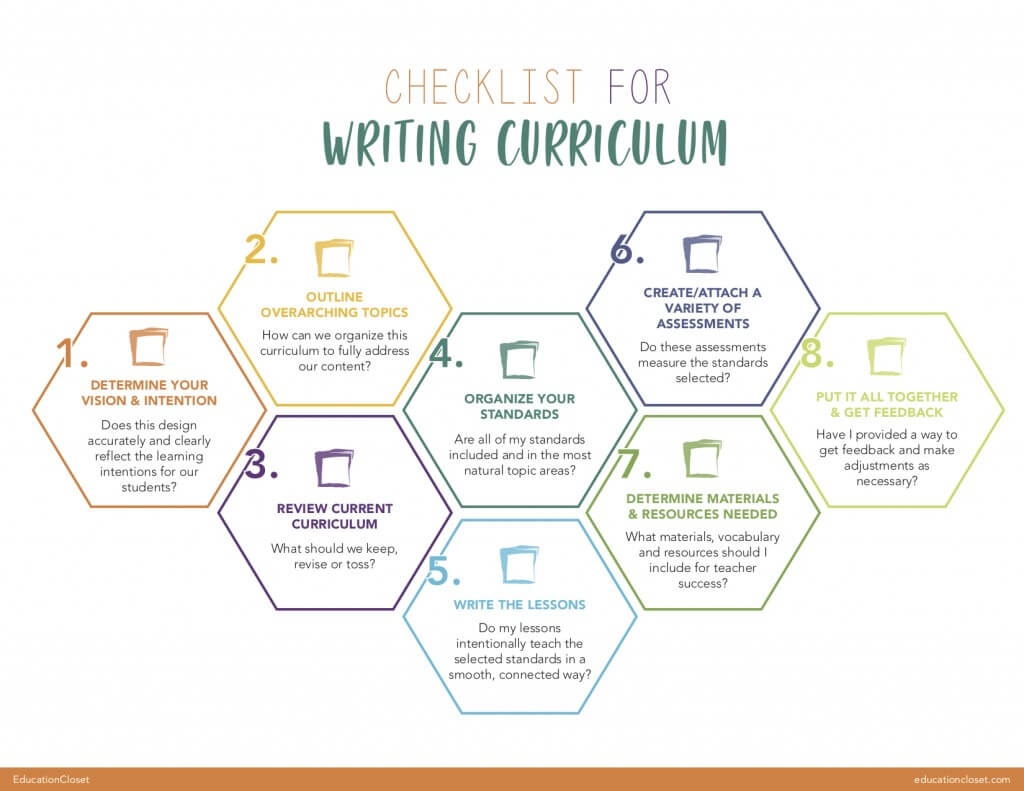
What we’ve learned along the way is that curriculum design has a structure to it that can be replicated and leveraged by anyone. So whether you are looking to revamp your curriculum or write one from scratch, you can use this process. Here’s the basics of what we did – we’ll go into these in more detail below:
- Determine your vision and intention for the curriculum.
- Outline your overarching topics.
- Review any current curriculum to determine what to keep and what to retire.
- Organize your standards based on the topics and timeline.
- Write the lessons to provide a comprehensive student learning experience.
- Create or attach a variety of assessments to the lessons.
- Determine what materials and resources you’ll need.
- Pull it all together.
Step 1: Determine your vision and intention for the curriculum
Understanding what you want to achieve from your curriculum is crucial. It’s working with the end in mind. But most people actually skip this step. They move right into outlining their topics without a clear purpose to the whole process. This will lead to a curriculum that is disjointed and can lead to big gaps.
Take the time now to figure out what you want this curriculum to look like, be used for, and how you want it to flow. Some teachers want a scripted curriculum, others don’t. Some schools want you to have a very specific lesson outline included and others are much more relaxed.
The key here is to create a curriculum design that makes sense for you and your students. Sketch it out and create a basic template that you’ll use throughout the process.
Question to Consider: Does this design accurately and clearly reflect the learning intentions for our students?
Step 2: Outline your overarching topics.
Once you have the basic design and intention for your curriculum, now it’s time to select your overarching topics. Some standards actually take care of that for you. The Common Core Standards are already broken into topics like Operations and Algebraic Functions. Similarly, the National Arts Standards also have basic topics to explore like Organize and Develop Artistic Ideas and Work.
You can use these as a basic outline, or your can do something totally different. In our case, we actually framed our elementary curriculum supplement around the artistic periods from prehistoric art to contemporary art.
In our middle and high school supplements, we’re creating lessons around 6 big topics that are aligned to the global concepts in the International Baccalaureate framework. We’re designing our curriculum to explore questions like “Who are we?” and “How is everything connected?”.
These topics provide us with a lot of flexibility within the context of our curriculum. You may need that, or you may want more structure. Either way is fine – you just need to figure out what those topics are and write them down.
Question to Consider: How can we organize this curriculum to fully address our content?
Step 3: Review any current curriculum to determine what to keep and what to retire.
There’s nothing worse than throwing the baby out with the bathwater. Yet that’s what we tend to do when we write curriculum. We throw out the old and start fresh. While that can sometimes be appropriate, more often than not we have some stellar lessons or units that can carry over to the new curriculum.
In this step, you’ll take a look at what you have already and determine whether or not you want to keep it. If you keep it, you’ll want to figure out what topic it goes under and how you can naturally weave it in as a part of the new curriculum. If it goes, then you need to write down what standards/ideas it was teaching so you can fill in that gap later on.
From there, determine when you want to focus on each topic. Remember that most topics will be spiraled throughout the curriculum. But there are certainly time periods when you’ll focus on a topic more deeply. Identify these time periods as an overview to your curriculum.
And please – whatever you do – be mindful of copyright infringement. Schools and districts lose millions of dollars each year due to copying materials and infringing on others’ work. If you are uncertain, please use this guide to help.
Question to consider: What should we keep, what should we revise and what should we toss?
Step 4: Organize your standards based on the topics and timeline.
Now that you have a basic framework with topics and an overarching timeline of when you’ll focus on each topic, it’s time to fill in the standards. Look at the standards that you need to teach in your curriculum and determine where they will best fit in your topic overview.
Again, because topics will come back and spiral, you have a little leeway here. But this will help you ensure that you teach all of the standards required for your content and that they are taught when it’s most appropriate. It also provides you with an opportunity for integration, since you’re organizing these standards by topic.
Take a look at other content areas and arts areas to see if there are any standards that make a natural alignment with any of yours. If so, highlight that in your framework and save a spot for an integrated lesson. This will help ensure that your curriculum is engaging and meaningful for your students.
Question to consider: Are all of my standards included and in the most natural topic areas?
Step 5: Write the lessons to provide a comprehensive student learning experience.
Once you have the topics and standards outlined, now you can write your lessons. In your lessons, be sure that you’re engaging students with a variety of teaching strategies and working to meet the needs of diverse learners.
You’ll also want to make sure you include transitions within the lesson so that it sequences appropriately throughout. And, the lesson should clearly teach the standards you’ve identified as well as relate back to the overarching topic.
If you’ve developed arts integrated lessons, you’ll need to make sure your lesson teaches both content areas intentionally and equitably throughout.
Question to consider: Does my lesson intentionally teach the standard(s) selected in a smooth, connected way?
Step 6: Create or attach a variety of assessments to the lessons.
In this step, we’re looking at all kinds of assessments. That includes diagnostic, formative and summative measures. It’s important that there are assessments created for your lessons during the curriculum writing process. This helps you make sure you’re assessing the standards you’ve selected. It also ensures that those assessments reflect the information you need about what students learned.
By including a variety of assessments, there are multiple measures of the learning process. That helps us figure out any gaps in student learning and where those gaps took place.
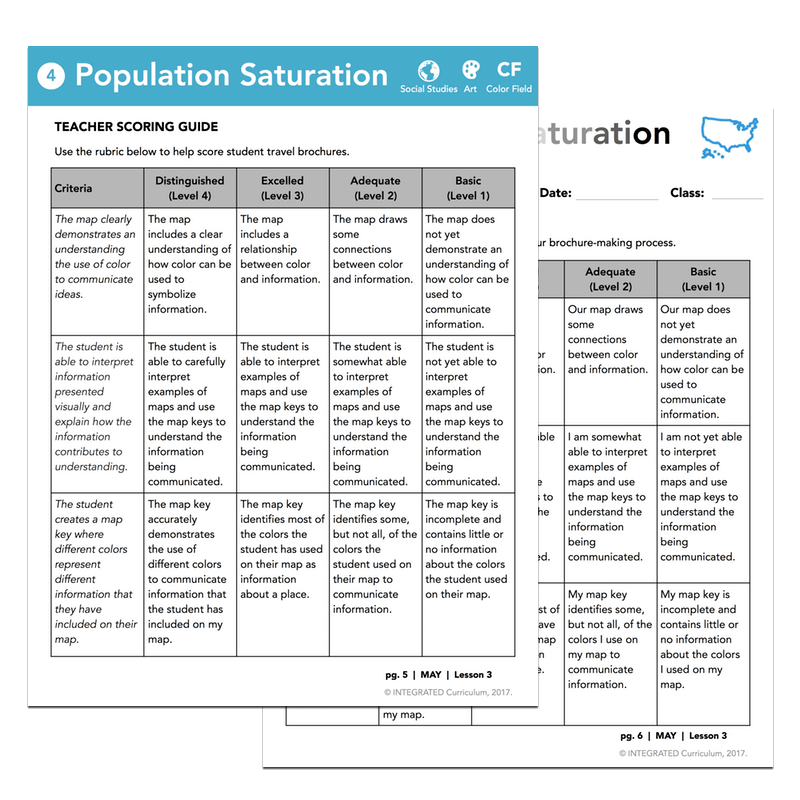
In our curriculum supplement, we included things like rubrics, checklists, written response and likert scales as examples. We also included both a teacher scoring guide and an aligned student scoring guide. This allowed students to assess themselves and gave them some ownership of that process.
Question to consider: Are the included assessments varied and do they measure the standard(s) selected?
Step 7: Determine what materials and resources you’ll need.
Once you’ve created your lessons and assessments, it’s time to take a look at what materials you’ll need to complete each lesson. This is also a great time to consider what key vocabulary terms and 21st century learning skills you’re addressing in each lesson. It’s really a way to flesh out the core of the lesson into something comprehensive.
This is also the time to create and add in any resources or student guides you want to include for each lesson. This can certainly be done later by the individual teacher, but if time allows, this is extremely helpful to build in up front. This will save the teacher time and allows you the opportunity to create resources that tightly align to the objectives of each lesson.
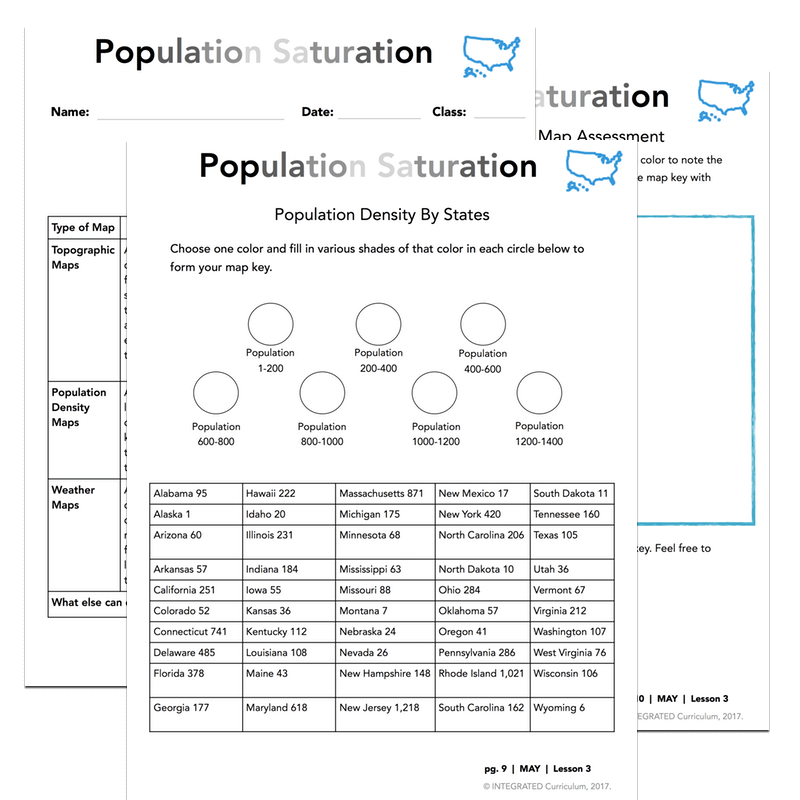
As an example, we’ve created all of the student handouts as well as the teacher powerpoints in our curriculum. We did this in an effort to give teachers as much time as possible to really focus on the teaching process.
Question to consider: What materials, vocabulary, and resources should I include that will set a teacher up for success with each lesson?
Step 8: Pull it all together.
Finally, you’re able to pull everything together into a nice, neat curriculum package. It’s time to celebrate all your hard work! Deliver it to teachers (or review it yourself if this was just for you) and be sure to get feedback.
We like to include a survey link so that teachers can share what they love and what they wish was different. This helps us to make small tweaks without having to totally revamp everything again.
Remember that curriculum is a living, breathing thing. It’s meant to evolve, grow and change as the needs of teachers and students change. Getting that feedback is so helpful in ensuring any curriculum you work on stays relevant for a long time to come.
Question to consider: Have I provided a way to get feedback and make adjustments as necessary?
There are so many different ways to design curriculum and only you know what works best for your situation. However, these 8 steps will definitely help you get up and running fast!

