Susan Riley | October 2011
See, Think, Wonder Routine
One of the ways that I always tell my teachers (beginning and advanced) to use Arts Integration is through a See, Think, Wonder chart as a creative thinking activity. Often, teachers are nervous to begin integrating the arts because they aren’t sure where to begin. Arts Integration or STEAM feels intimidating.
That’s where this simple, effective strategy comes in. The See-Think-Wonder strategy is an artful thinking routine from Harvard’s Project Zero. The purpose of this routine is to allow students time to thoughtfully consider not only what they’re observing, but also what those observations mean. This also becomes a way for students to begin asking thoughtful, probing questions – which is a hallmark of the STEAM approach.
See-Think-Wonder Steps
- Begin by looking at an image or a problem and asking students “What do you See” . Give them at least one full minute (if not more) to really take in the entire image or problem.
- Have students write down everything they observe in the “see” column. You can also just use the phrase as a prompt for discussion, but giving students the opportunity to write down their observations allows for processing time.
- Then, ask students “What do you think?” about anything they noticed. This probes them to look a little deeper at what they noticed on the surface to see if there is any significance to it. Have them write down their thoughts in the “think” column.
- Finally, you ask students “What do you Wonder?“, which allows them to take what they thought about the image or problem and let their imaginations run wild. They could consider things like: what is the setting, what happened to cause this problem, why did the author/painter/creator set it up this way, what are we supposed to take away from this? These are all high-level inquiries that propel our students into discovering the “answers” for themselves. Make sure they write these questions down in the “wonder” column.
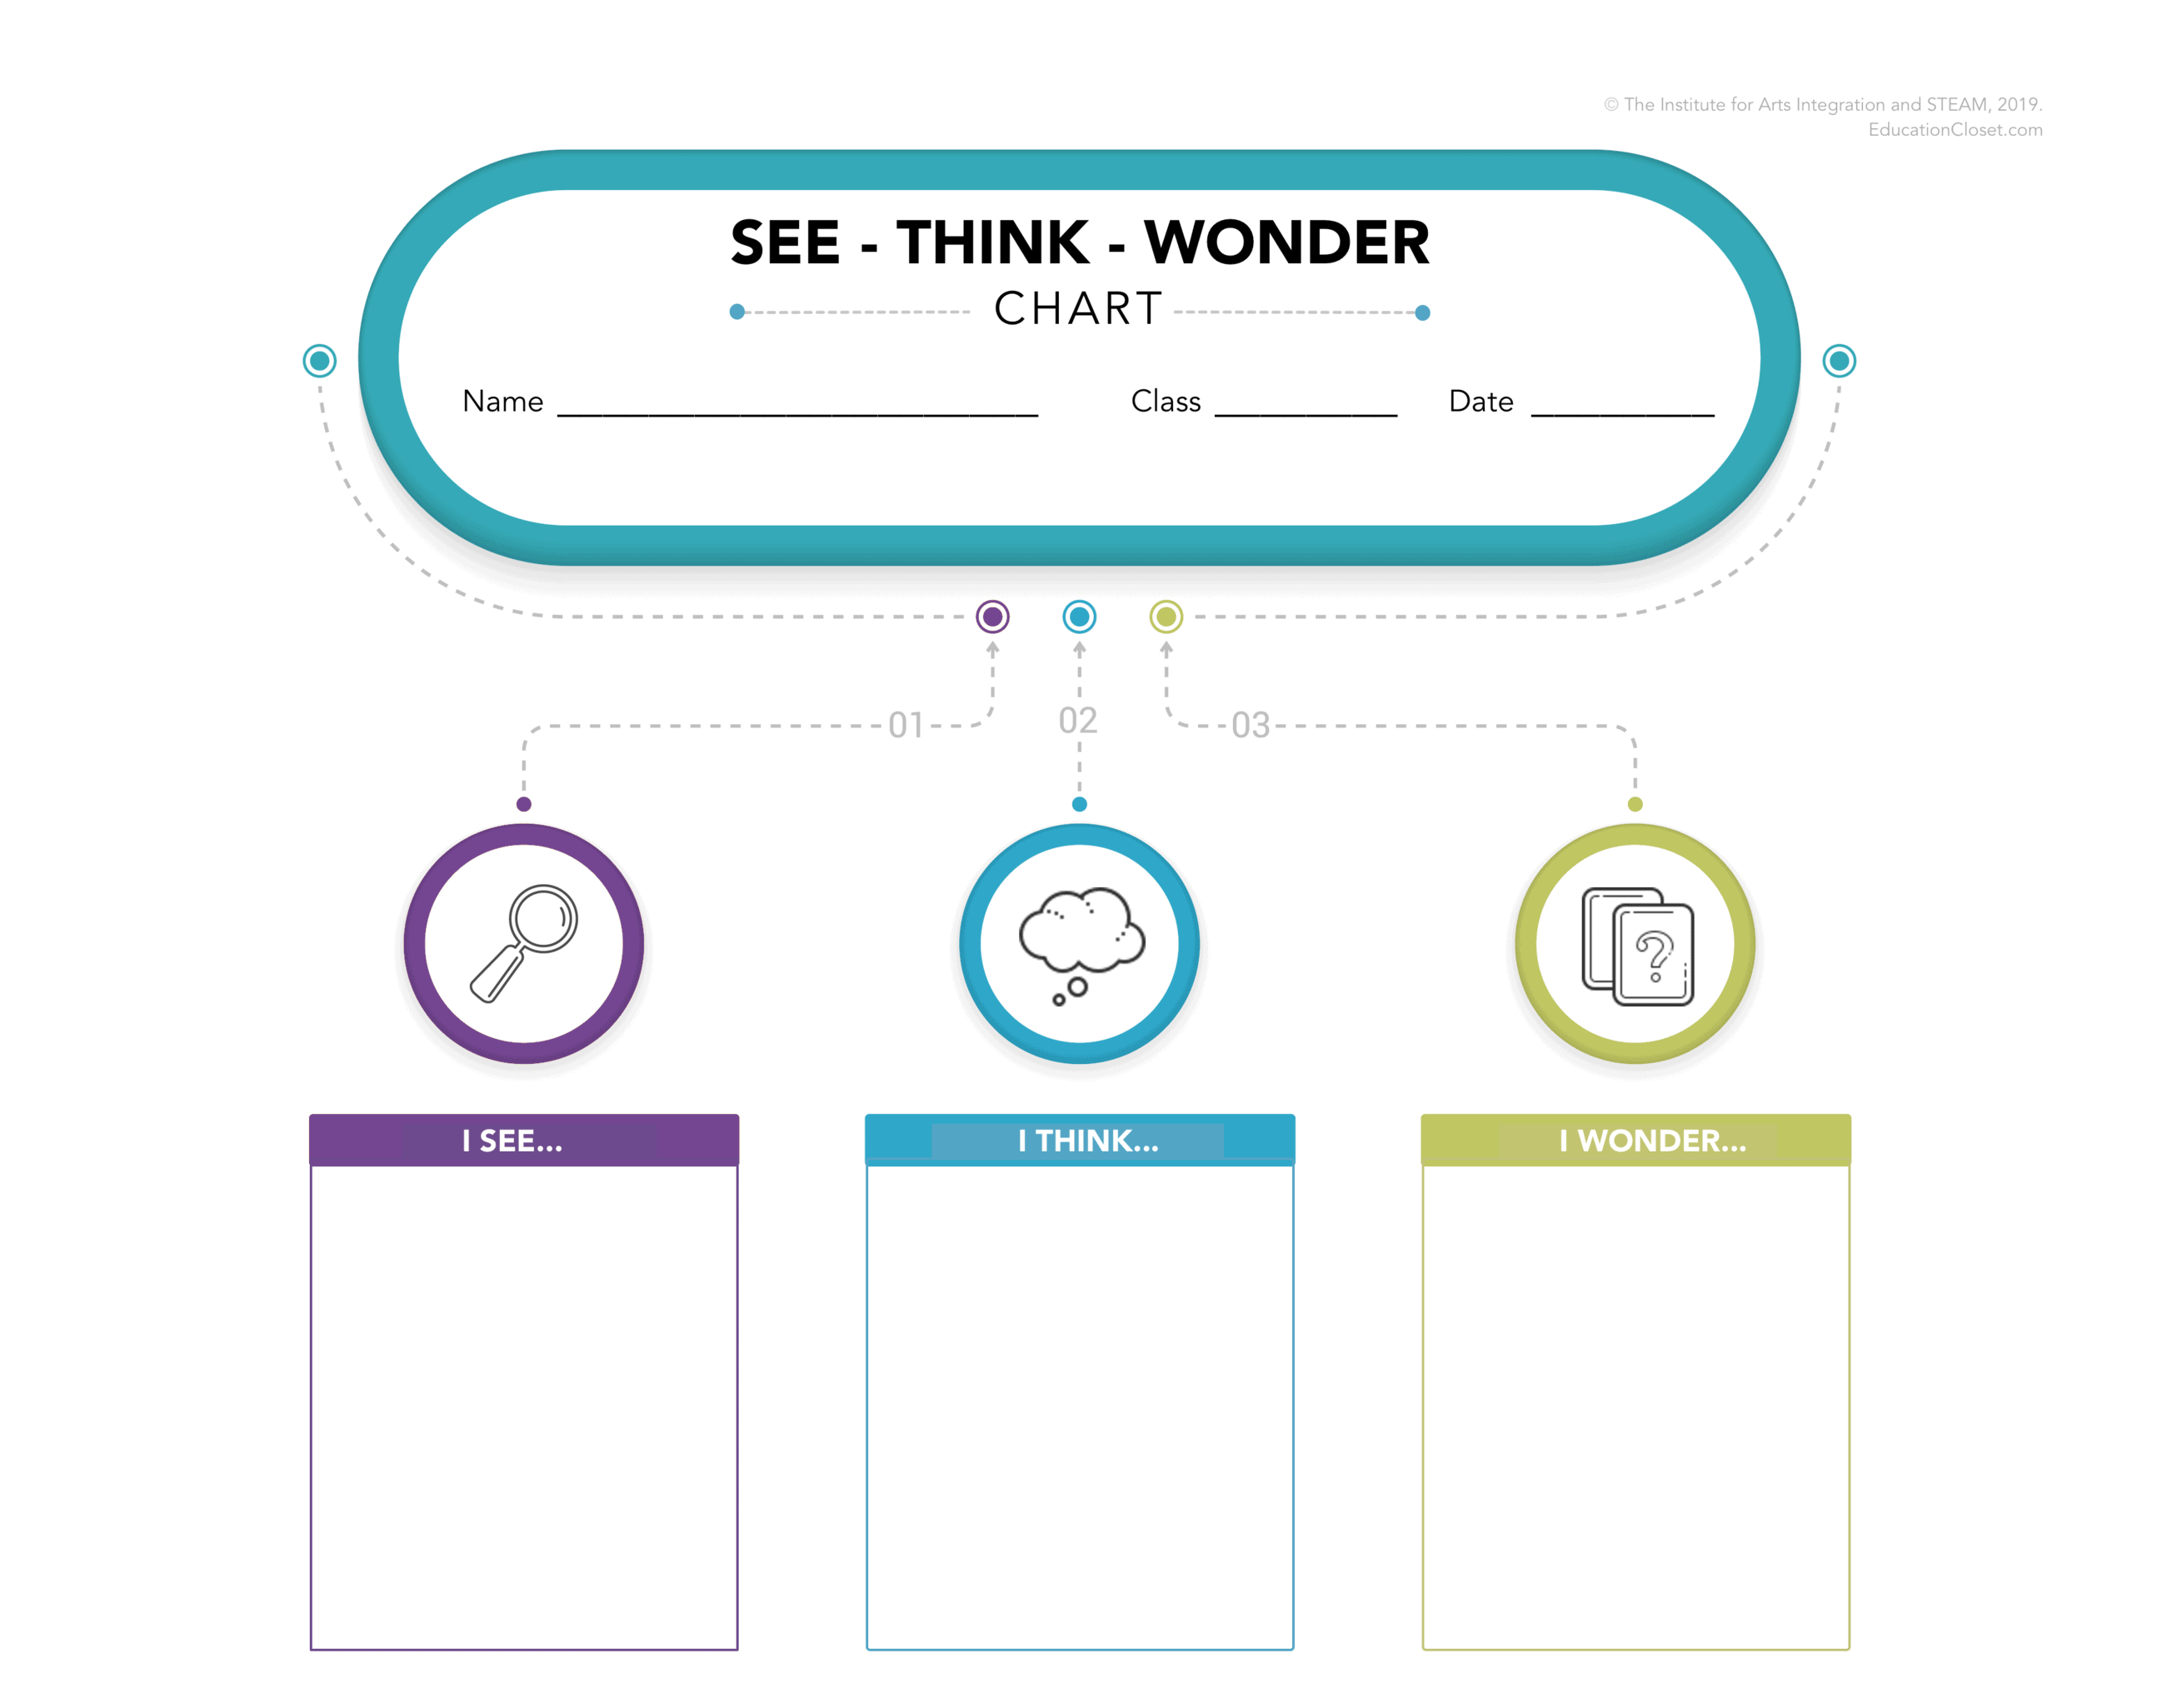
You could easily just write I See…I Think…I Wonder in 3 columns down a piece of paper. But what is Artful about that? So I developed this See, Think, Wonder worksheet for the teachers in our training programs to use as a resource with their students as a way to spur on their thinking.
Cautions and Considerations
While this strategy is deceptively simple, there are some essential components you’ll want to keep in mind. First, have students be as concrete as possible when they are noticing things for the “See” column. Humans make instant connections to background knowledge when they look at things for the first time.
So instead of noticing a railing in this image, for example, students may say they see a subway train. What they’re doing is looking at the whole image and then making the assumption that the railing is part of a subway train.
When that happens, you want to redirect students to go into more detail by asking “What makes you say that?”. You’ll do this at least once the first time you try this strategy. This is a great opportunity for deepening conversations with your students. Expanding on ideas and providing evidence are both difficult actions for many students. This simple question encourages students to dig deep and find supporting evidence for their statements.
Additionally, you’ll want to be consistent with this practice. If you see a student making an assumption, don’t just skip over it to save time or move ahead. Get students into the habit of slowing down their thinking to better see how the parts fit into the whole.
Try it Yourself
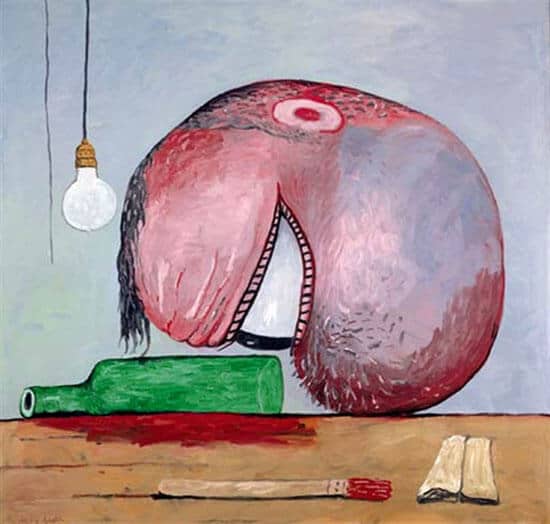
Try using this strategy on your own before bringing it into your classroom. Here’s a fun example work to explore:
Go through the steps above: what do you see, what do you think and what do you wonder about this image? Then, look back at your observations, thoughts and questions. What is surprising to you? What did you notice about your own process?
Once you’ve gone through the steps, check out the overview of this work from artist Phillip Guston, as well as the title. Does this change your see-think-wonder? These reflections will help you guide your students through this process as well.
Here’s a list of other image examples that are great to use with this strategy:
- The New York Times has a compilation of 4 years worth of “What’s Going on in this Picture?” images which are excellent.
- This Pinterest board from Pamela Thompson has a collection of images that are intriguing.
- The Smithsonian has a collection specifically for Images of Girls (Middle and High School levels only)
Connecting it to your Curriculum
There are so many ways to use this strategy in your classroom. Many teachers use this as a warm-up or bellringer to begin class.
Others use it with illustrations from textbooks or as a way of deepening discussion around a topic. You could find an image that aligns with a concept you’re working on in class and use that as a way for students to apply what they’re learning to an image.
In particular, any standard you’re working on with the verbs “identify” or “examine” work well to pair with this strategy.
While this can work as a stand-alone activity, what’s more important is using this kind of tool to help make content more meaningful and engaging to students. That is where we find learning truly come to life.


